
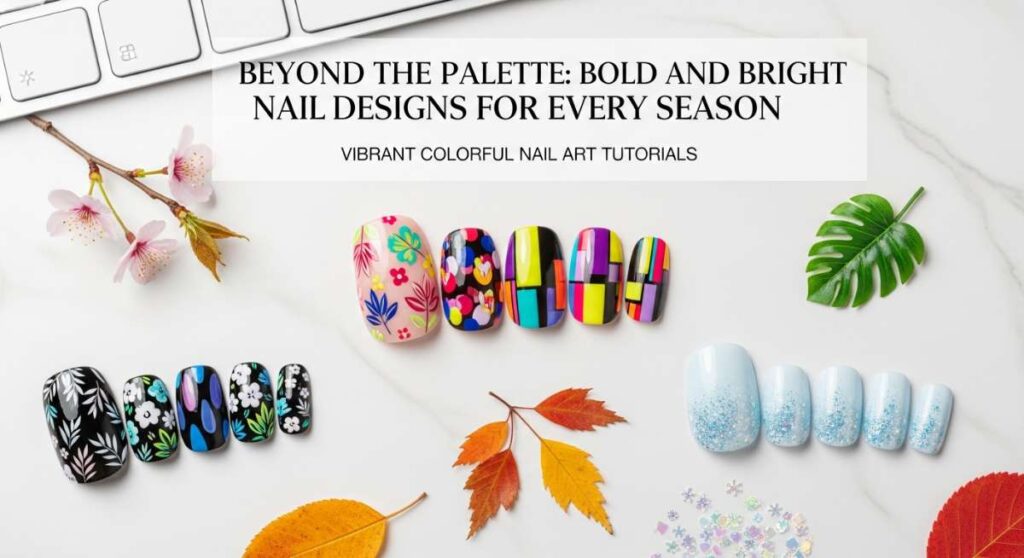
Beyond the Palette: Bold and Bright Nail Designs for Every Season
Hello my beautiful loves! I am so incredibly happy you’ve found your way to my cozy little corner of the internet today. Grab a warm cup of tea, wrap yourself in your softest blanket, and let’s talk about something that truly makes my heart dance: the magic of color. There is something so deeply healing about looking down at your hands and seeing a vibrant rainbow reflecting back at you, a tiny masterpiece at the tips of your fingers that reminds you of your own inner light.
Life can sometimes feel a bit heavy, can’t it? But I’ve always found that the smallest rituals—like painting a splash of sunset orange or a whisper of sky blue onto my nails—can completely shift my frequency. It’s not just about aesthetics; it’s about self-love, expression, and giving yourself permission to take up space. Today, I want to guide you through a world of vibrant nail art that feels like a warm, cloud-soft embrace for your soul.
5 Simple Steps for Multi Colored Nails

Why to love this recipe:
This ‘Skittle’ look is like a playground for your fingertips. It’s the ultimate way to wear every color you love without having to choose just one, creating a joyful, eclectic vibe that feels like a party on your hands.
Essential Ingredients:
- 5 different shades of pastel or neon polish
- A nourishing base coat
- A high-shine top coat
- Nail polish remover and a small brush for cleanup
How to Prepare:
- Start with a clean, buffed canvas and apply your base coat to protect your natural nails.
- Select five colors that make you smile—I love a soft gradient from thumb to pinky.
- Apply one thin layer of a different color to each finger.
- Add a second coat to ensure the pigment is rich and saturated.
- Seal the joy with a glossy top coat and let them dry while you dream of rainbows.
Budget Range
- Essie ‘Play Date’ Purple ($10)
- OPI ‘Cajun Shrimp’ Coral ($11)
- Sally Hansen ‘Lemon Heaven’ ($6)
- Zoya ‘Robyn’ Blue ($12)
- Holler and Glow ‘Neon Pink’ ($8)
3 Hacks for Colorful Nail Designs

Why to love this recipe:
Sometimes we want the professional look without the professional price tag or the hours of frustration. These hacks are my little secrets for getting that ‘just left the salon’ feeling right in your own living room.
Essential Ingredients:
- A makeup sponge
- Washi tape or scotch tape
- A simple toothpick
How to Prepare:
- The Sponge Ombre: Paint two colors onto a makeup sponge and dab onto the nail for a soft, diffused gradient effect.
- The Tape Trick: Use thin strips of tape to mask off sections for crisp, geometric lines that look perfectly sharp.
- The Toothpick Dot: Dip a toothpick into a bright polish to create tiny, delicate polka dots over a neutral base.
Budget Range
- Wedge Makeup Sponges ($3 pack)
- Decorative Washi Tape ($5)
- Basic Toothpicks ($1)
4 Ways to Master Different Color Nails

Why to love this recipe:
Mastering the art of multi-tonal nails is about understanding the harmony between shades. It’s a soulful way to experiment with color theory and find a balance that feels uniquely ‘you’.
Essential Ingredients:
- A color wheel (digital or physical)
- Matte and glossy top coats
- Patience and a gentle spirit
How to Prepare:
- Monochromatic Magic: Choose one color and use four different shades or tints of that same hue across your hand.
- Complementary Contrast: Pair colors that are opposite on the wheel, like teal and orange, for a look that pops with energy.
- Texture Play: Mix matte and glossy finishes on different fingers to add depth to your colorful design.
- The Accent Nail: Paint four nails a solid bright color and use the ring finger for a multi-colored swirl.
Budget Range
- Revlon Matte Top Coat ($7)
- Seche Vite Dry Fast Top Coat ($9)
- Butter London ‘Trend’ Collection ($15)
- Orly ‘Color Pass’ Box ($20)
6 Steps to Create Colorful Junk Nails

Why to love this recipe:
Junk nails are all about maximalism and unapologetic fun! It’s the scrapbooking of nail art—adding charms, gems, and textures that tell a story of whimsy and wonder.
Essential Ingredients:
- Nail glue or thick builder gel
- Tiny 3D charms (hearts, stars, gummy bears)
- Assorted rhinestones
- Tweezers
How to Prepare:
- Apply your base color and let it dry completely.
- Plan your layout on a paper towel before touching the nail.
- Apply a small dot of glue where you want your largest charm to sit.
- Use tweezers to gently place the charm and hold for 10 seconds.
- Fill in the gaps with smaller rhinestones and pearls.
- Finish with a thick top coat around (not over) the charms to lock them in place.
Budget Range
- Makartt Nail Rhinestone Glue ($8)
- Amazon 3D Nail Charm Kit ($12)
- Beauty Secrets Curved Tweezers ($5)
- Beetles Gel Top Coat ($10)
- Artisan Mini Pearls ($6)
- Clear Glass Crystals ($9)
7 Tips for Perfect Color Nails
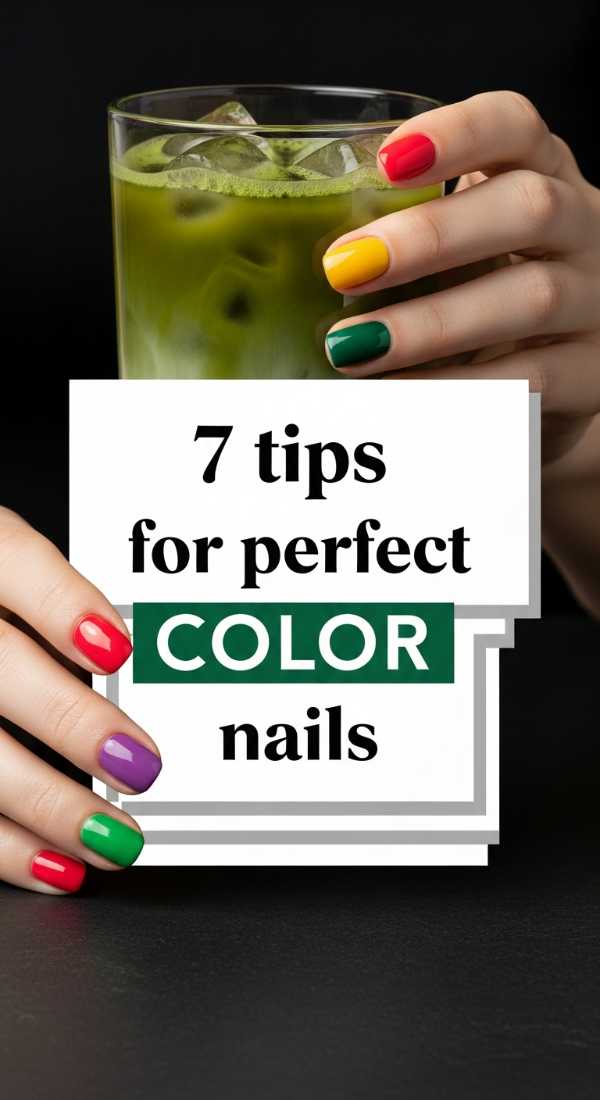
Why to love this recipe:
The secret to a perfect manicure isn’t just the polish—it’s the love and care you put into the preparation. These tips ensure your color stays vibrant and your spirit stays calm throughout the process.
Essential Ingredients:
- Cuticle oil
- Glass nail file
- Rubbing alcohol
- High-quality base coat
How to Prepare:
- Always start by gently pushing back your cuticles to create more ‘canvas’ space.
- Shape your nails with a glass file to prevent peeling and snagging.
- Wipe each nail with rubbing alcohol to remove oils so the color sticks better.
- Apply very thin layers—three thin coats are always better than one thick, bubbly one.
- Cap the free edge (the tip of your nail) with polish to prevent chipping.
- Give yourself at least 30 minutes of ‘no touch’ time to let the polish set.
- Finish with cuticle oil every single night to keep the color looking fresh and your skin soft.
Budget Range
- Burt’s Bees Lemon Butter Cuticle Cream ($6)
- Mont Bleu Glass Nail File ($10)
- Holo Taco Long-Lasting Base ($11)
- Isopropyl Alcohol ($3)
- Ella + Mila ‘Oil Me Up’ ($12)
- Cirque Colors ‘Looking Glass’ Top Coat ($13)
- Nail Tek Intensive Therapy ($10)
2 Easy Ways for Two Color Nails

Why to love this recipe:
If you’re feeling a bit overwhelmed, two colors are the perfect place to start. It’s a sophisticated, balanced look that feels intentional and grounded while still embracing that pop of brightness.
Essential Ingredients:
- Two contrasting polishes (like pink and yellow)
- Striping tape or a steady hand
How to Prepare:
- The Vertical Split: Paint half the nail one color and the other half a second color for a modern, chic ‘mod’ look.
- The Dipped Tip: Paint the entire nail a solid color, then use a second color to create a thick, colorful French tip.
Budget Range
- China Glaze ‘Flip Flop Fantasy’ ($8)
- Pacific ‘Plant Magic’ Polish ($12)
5 Minute Guide to Color Street Nails

Why to love this recipe:
For my busy loves who still want that vibrant sparkle, these dry polish strips are a lifesaver. They offer intricate designs and bold colors without the dry time or the mess.
Essential Ingredients:
- Color Street nail strips
- The included nail prep pad
- A small nail file
How to Prepare:
- Clean your nails thoroughly with the prep pad to remove any oils.
- Select the strip size that best fits your nail.
- Peel the clear plastic cover and the silver tab.
- Gently stretch and press the strip onto the nail, smoothing from the center out.
- Fold the excess over the tip and file it off in a downward motion.
Budget Range
- Color Street Solid Strips ($11)
- Color Street Glitter Designs ($13)
3 Secrets for Vibrant Nails Colorful

Why to love this recipe:
Have you ever bought a neon polish that looked dull on the nail? These secrets will unlock the true potential of your colors, making them glow with an almost ethereal intensity.
Essential Ingredients:
- Opaque white nail polish
- Neon pigment powders
- Glossy gel top coat
How to Prepare:
- The White Base: Always apply a layer of pure white polish under your brights to make the neon tones truly ‘pop’.
- Buffing in Pigment: Use a sponge to rub neon pigment powder into a tacky layer of polish for insane saturation.
- The Double Top Coat: Apply one layer of top coat, let dry, then add a second to create a ‘glass’ effect that enhances color depth.
Budget Range
- OPI ‘Alpine Snow’ White ($11)
- Saviland Neon Pigment Set ($15)
- Modelones Gel Top Coat ($7)
4 Pro Tricks for Multicolor Nails

Why to love this recipe:
These tricks are what separate the enthusiasts from the artists. They help you blend and layer colors in a way that looks professionally executed and deeply artistic.
Essential Ingredients:
- A silicone nail mat
- Fine detail brushes
- Acetone for cleanup
How to Prepare:
- The Palette Mix: Don’t just use the brush from the bottle; drop polish onto a mat and mix custom shades for a unique palette.
- The ‘Dry Brush’ Technique: Wipe almost all polish off the brush and swipe it over a base color for a distressed, multi-tonal effect.
- The Clean Cuticle: Use a tiny brush dipped in acetone to ‘carve’ a perfect curve at the base of your nail for a pro finish.
- Marbling: Drop dots of different colors onto the nail and use a thin brush to swirl them gently while still wet.
Budget Range
- Silicone Craft Mat ($10)
- Winstonia Fine Detail Brushes ($12)
- Pure Acetone ($5)
- Lights Lacquer ‘Collector’s Polish’ ($13)
6 Steps to Achieve Colorful Stiletto Nails

Why to love this recipe:
Stiletto nails are for the bold, the fierce, and the dreamers. They provide a long, elegant canvas that allows for breathtaking color transitions and striking visual impact.
Essential Ingredients:
- Full cover stiletto tips or builder gel
- Electric nail file (optional)
- Long-wear bright polishes
How to Prepare:
- Shape your nails or apply tips into a sharp, symmetrical point.
- Apply a strong base layer to ensure the length is supported.
- Divide the long nail into three ‘zones’ for a vertical ombre effect.
- Blend three colors from the cuticle to the tip using a damp sponge.
- Add a vertical silver or gold line down the center to accentuate the length.
- Seal with a thick, high-gloss top coat to protect the edges.
Budget Range
- Apres Gel-X Stiletto Tips ($25)
- Kupa Mani-Retta E-File ($30)
- Kiara Sky Professional Polish ($14)
- Born Pretty Metallic Liner Gel ($6)
- Young Nails Protein Bond ($15)
- Mia Secret Clear Acrylic ($12)
Embrace Your Inner Rainbow
My loves, I hope these tutorials fill your heart with as much inspiration as they fill mine. Remember, nail art is just another form of self-care—a way to slow down, breathe, and decorate the beautiful person you already are. Don’t worry about being perfect; worry about being expressive. Whether you choose a simple skittle look or wild junk nails, let them be a reflection of your joy. I can’t wait to see what you create. Sending you so much light and color!