

Sunkissed & Sophisticated: The 2026 Summer Nail Aesthetics to Watch
Hello, my beautiful loves. Can you feel that? There is a certain shift in the breeze, a soft, golden promise that the days are stretching longer and the sun is ready to wrap us in its warm, cloud-soft embrace. As we step into the vibrant energy of 2026, my heart is overflowing with the creative magic I’ve been seeing in the world of beauty. It’s more than just polish; it’s about how we express the blooming joy inside of us.
I’ve spent the last few weeks sipping iced matcha and dreaming of the perfect palettes that will carry us from the first cherry blossom of spring to the high-noon heat of August. Whether you are heading to a sun-drenched beach or dancing the night away at a spring formal, your hands tell a story. Let’s make sure it’s a beautiful one.
Grab your favorite tea, settle into your sunniest corner, and let’s dive into the trends that are going to define our most stylish season yet. I’ve gathered my absolute favorites—from zesty citrus vibes to the most elegant prom silhouettes—just for you.
5 Easy Steps to Paint Spring Fruit Nails

Why to love this Design:
There is something so incredibly nostalgic and sweet about fruit-inspired art. It’s like carrying a tiny, hand-painted orchard on your fingertips. It whispers of picnics in the grass and the simple joy of a fresh harvest.
Essential Elements:
- Sheer milky white base coat
- Nail art brushes (ultra-fine)
- Red, green, and pink gel liners
- Glossy top coat
How to Prepare:
- Apply two thin layers of a milky white base to create a soft, clouded canvas.
- Use a dotting tool to place two small red circles for cherries or a tiny pink oval for a strawberry.
- Connect your fruit with delicate green stems using your finest brush.
- Add tiny white ‘shimmer’ dots to the fruit to give them a 3D, juicy appearance.
- Seal the magic with a high-shine top coat to keep your orchard fresh for weeks.
Budget Range
- Essie ‘Marshmallow’ ($10)
- Beetles Nail Art Liner Set ($15)
- Seche Vite Dry Fast Top Coat ($9)
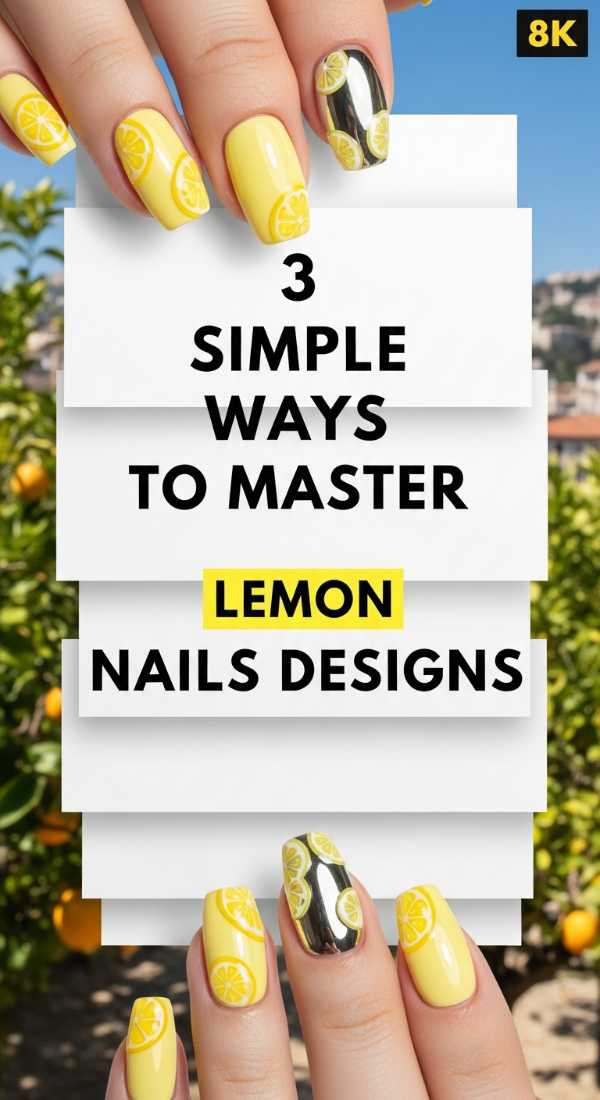
3 Simple Ways to Master Lemon Nails Designs
Why to love this Design:
Lemon nails are the ultimate mood booster! They are zesty, bright, and remind me of sipping homemade lemonade on a porch swing. It’s a design that feels like pure, bottled sunshine.
Essential Elements:
- Primary yellow polish
- Matte white polish for detailing
- Zesty yellow glitter (optional)
How to Prepare:
- The Half-Moon Slice: Paint a yellow semi-circle at the tip and add white ‘segments’ radiating from the center.
- The Minimalist Zest: Keep the nail nude and place one tiny, perfectly detailed lemon sticker near the cuticle.
- The Textured Peel: Use a sponge to dab a slightly darker yellow over a bright base to mimic the skin of the fruit.
Budget Range
- OPI ‘Exotic Birds Do Not Tweet’ ($11)
- Sally Hansen White On ($6)
- Amazon Nail Fruit Decals ($7)
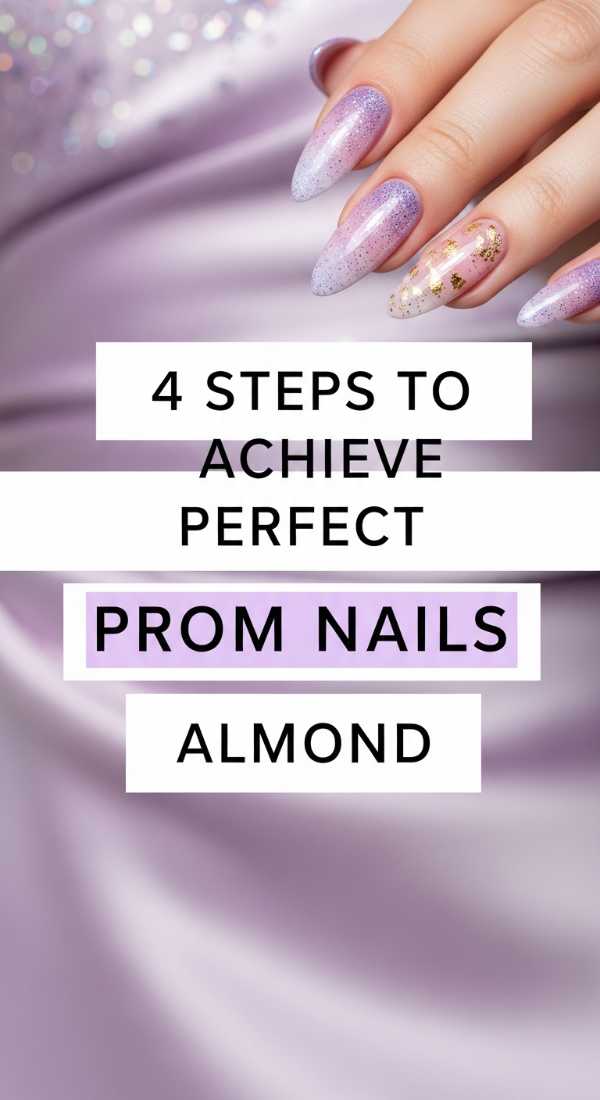
4 Steps to Achieve Perfect Prom Nails Almond
Why to love this Design:
The almond shape is the height of sophistication, darlings. It elongates the fingers and provides such a graceful silhouette for those once-in-a-lifetime prom photos. It’s timeless, soft, and utterly romantic.
Essential Elements:
- Almond-shaped full cover tips or a glass file
- Nude or soft blush polish
- Pearl accents
How to Prepare:
- File your nails into a gentle taper, ensuring the tip is rounded like an actual almond.
- Apply a ‘your nails but better’ sheer pink shade to create an elegant foundation.
- Apply a tiny drop of nail glue to the base and set a single flat-back pearl.
- Finish with a UV-gel top coat for a glass-like finish that won’t chip during the slow dances.
Budget Range
- Olive & June ‘CHM’ Polish ($9)
- Kiss Salon Acrylic Nude Nails ($8)
- Nail Art Pearl Kit ($6)
6 Tips to Style Bold Red Spring Nails

Why to love this Design:
Red is a classic, but for Spring 2026, we are leaning into ‘tomato red’—it’s fiery, brave, and looks stunning against the fresh greens of the season. It’s for the woman who isn’t afraid to be seen.
Essential Elements:
- Warm-toned red cream polish
- Cuticle oil
- Precision cleanup brush
How to Prepare:
- Hydrate: Red shows every flaw, so start with a deep cuticle oil treatment.
- The Thin Layer Rule: Apply three very thin layers rather than one thick one to avoid bubbles.
- The Gap: Leave a hair-width gap between the polish and the cuticle for a professional look.
- Clean the Edges: Dip a brush in acetone to sharpen the lines around the nail bed.
- Color Match: Wear a matching red lip to tie the whole aesthetic together.
- Cool Down: Dip fingers in ice water after 3 minutes to set the color deeply.
Budget Range
- Chanel Le Vernis in ‘Incendiaire’ ($32)
- Revlon ‘Cherries in the Snow’ ($7)
- SolarOil Cuticle Care ($12)
4 Secrets for a Stunning Tropical Nail Set

Why to love this Design:
Close your eyes and imagine the sound of waves. This design is your ticket to paradise! It’s all about lush greens and sunset hues that make every day feel like a vacation.
Essential Elements:
- Teal and Coral polishes
- Small sponge for gradients
- Gold leaf flakes
How to Prepare:
- The Secret Gradient: Sponge a coral-to-pink transition to mimic a Caribbean sunset.
- The Leafy Layer: Use a stencil to apply a single monstera leaf in a deep hunter green.
- The Golden Touch: Press gold leaf onto the ‘tacky’ layer of polish for a sun-drenched glow.
- The High-Gloss Seal: Use a thick gel-effect top coat to give it that ‘wet’ water-look finish.
Budget Range
- Holo Taco ‘Gold Flake’ ($13)
- Orly ‘Summer Moon’ Collection ($12/bottle)
- Vinyl Nail Stencils ($5)
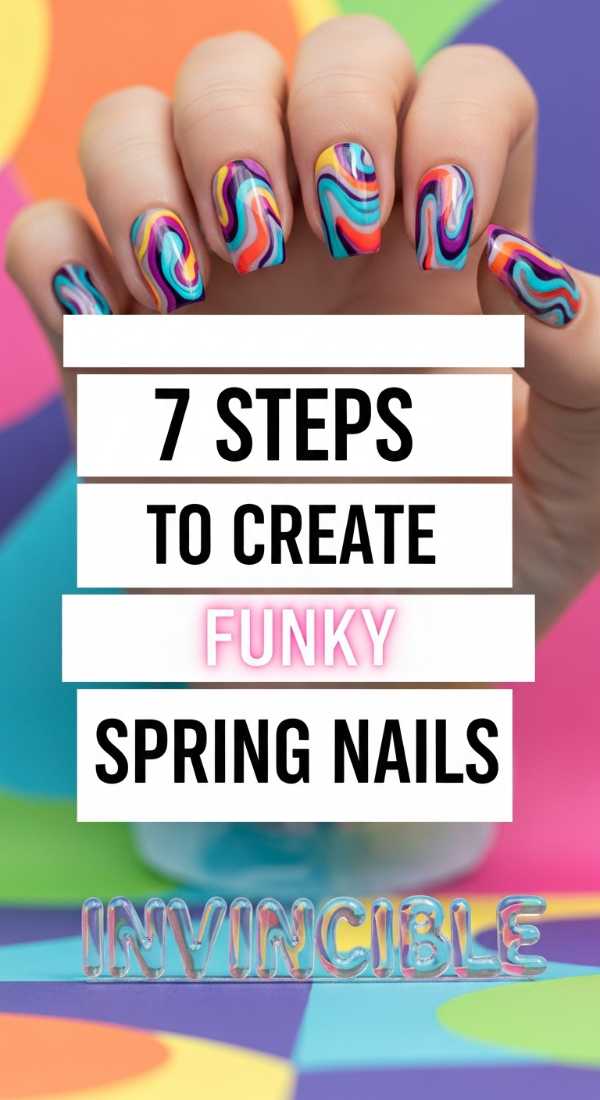
7 Steps to Create Funky Spring Nails
Why to love this Design:
This is for my wild at heart loves! Funky nails are all about breaking the rules—swirls, mismatched patterns, and unexpected color combos that celebrate your unique soul.
Essential Elements:
- At least 5 different pastel shades
- Dotting tool
- Striper brush
How to Prepare:
- Assign a different base color to every single finger for a ‘skittle’ effect.
- On the thumb, use a striper brush to create psychedelic 70s-style swirls.
- On the index finger, add tiny daisies using a dotting tool.
- On the middle finger, try a checkerboard pattern in lavender and white.
- On the ring finger, go for a simple metallic stripe.
- On the pinky, add a ‘blob’ of contrasting neon color.
- Matte it out! A matte top coat makes these funky patterns look like high-end art.
Budget Range
- Lights Lacquer ‘Birthday’ Bundle ($50)
- Zoya Professional Polish ($12)
- Matte Finish Top Coat ($8)
5 Minutes to Design Lemon and Blueberry Nails

Why to love this Design:
The combination of yellow and deep blue is so chic—it’s like a French countryside kitchen. It’s sophisticated yet playful, and surprisingly easy to pull off when you’re in a rush.
Essential Elements:
- Bright yellow polish
- Navy or cobalt blue polish
- Toothpick (for the blueberries)
How to Prepare:
- Paint your thumb and ring finger yellow, and the rest a creamy white.
- On the white nails, use a toothpick to place three small blue dots in a cluster.
- Add a tiny green ‘leaf’ flick next to the blue dots—now they’re blueberries!
- Add a single yellow dot on the other side for a lemon accent.
- Flash dry with a quick-dry spray and you’re out the door in five minutes flat.
Budget Range
- OPI ‘Miya-blue’ ($11)
- Expressie Quick Dry Polish ($9)
- Nail Dry Spray ($6)
3 Steps for Butter Yellow Nails Chrome Finish

Why to love this Design:
Butter yellow is the ‘it’ color of 2026. Adding a chrome finish makes it look like melted silk on your fingertips. It’s soft, luxurious, and incredibly trendy.
Essential Elements:
- Butter yellow gel polish
- White pearl or ‘unicorn’ chrome powder
- Sponge applicator
How to Prepare:
- Apply and cure two coats of butter yellow gel polish until perfectly smooth.
- Using a sponge, buff a tiny amount of pearl chrome powder over the cured polish until it shines.
- Wipe away the excess dust and seal with a no-wipe top coat for that futuristic glow.
Budget Range
- Gelish ‘Lemonade’ ($14)
- Born Pretty Chrome Powder ($8)
- UV LED Nail Lamp ($20)
4 Steps to Style Vacation Nails Stiletto

Why to love this Design:
Stiletto nails are for the bold, the brave, and the glamorous. They turn your hands into a fashion statement. Perfect for those vacation photos where you’re holding a cocktail by the infinity pool.
Essential Elements:
- Extra-long stiletto tips
- Translucent ‘jelly’ polish in turquoise
- Rhinestones
How to Prepare:
- Apply your stiletto extensions, ensuring they are symmetrical and sharp.
- Layer three coats of jelly polish to create a ‘sea glass’ transparency.
- Place a line of tiny crystals along the cuticle of the ring finger.
- Ensure the underside of the nail is clean and polished for a high-fashion ‘red bottom’ effect.
Budget Range
- Aprés Gel-X Stiletto Tips ($25)
- Cirque Colors Jelly Polish ($14)
- Swarovski Nail Crystals ($15)
2 Steps for Hands and Toes Nails Matching

Why to love this Design:
There is a quiet power in being perfectly coordinated. A matching mani-pedi is the ultimate ‘clean girl’ aesthetic—it shows you have your life together (even if you’re just winging it!).
Essential Elements:
- A single high-quality signature shade
- A matching toe separator
How to Prepare:
- The Uniform Layer: Apply the exact same shade and finish to both fingers and toes for a seamless look.
- The Texture Match: If you use a glitter topper on your ring finger, apply the same glitter to your big toe to bridge the design together.
Budget Range
- Dior Vernis ($30)
- Essie Gel Couture Set ($19)
- Pedicure Separators ($3)
Wishing You a Season of Beauty
My loves, I hope these designs inspire you to take a little moment for yourself this season. Whether you choose the fiery red of a spring sunset or the soft shimmer of butter-yellow chrome, remember that your beauty shines brightest when you feel like yourself. I can’t wait to see which of these 2026 trends you embrace. Tag me in your photos, and let’s celebrate this sun-drenched life together. Stay soft, stay bright, and keep blooming.